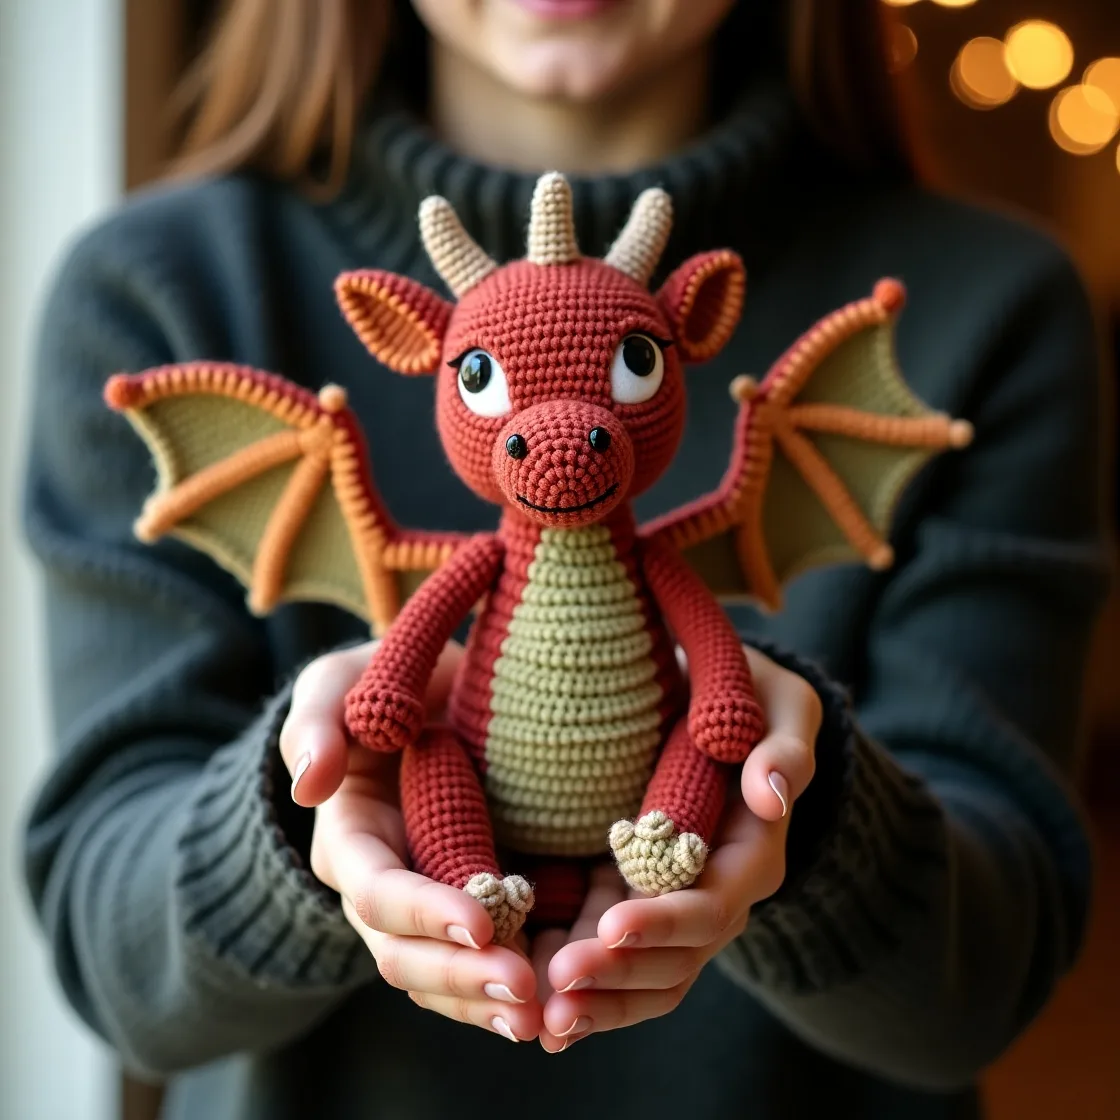
Crochet is an art form that allows for limitless creativity, and there’s no better way to showcase your skills than by crafting a stunning crochet dragon. These mythical creatures symbolize power, wisdom, and magic, making them the perfect project for any crochet enthusiast. In this comprehensive guide, we’ll walk you through the journey of creating your own crochet dragon, from gathering materials to adding personal touches. Let’s unleash your creativity and bring your dragon to life!
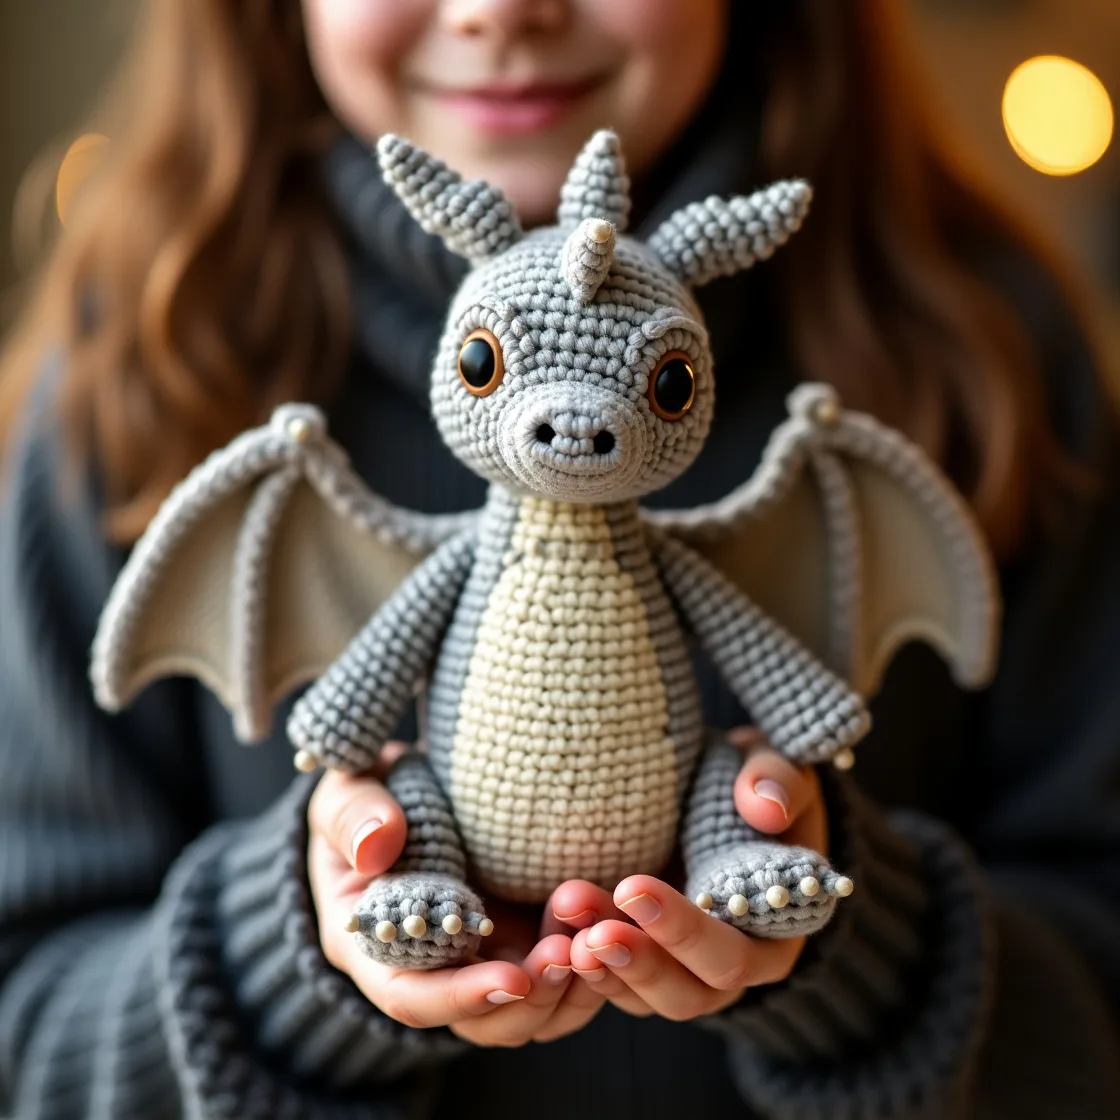
The Allure of the Crochet Dragon
Crochet isn’t just about making functional items like scarves or blankets; it’s an art form that lets you bring imaginative creations to life. Among the many possible projects, a crochet dragon stands out as a symbol of creativity and skill. Dragons have captivated humans for centuries with their majestic forms and mythical tales. By creating a crochet dragon, you not only craft a unique piece of art but also challenge yourself to expand your abilities.
Why choose a crochet dragon? It’s a project that blends technical skill with creative freedom. You can design your dragon in a variety of colors, shapes, and sizes, making each creation truly one of a kind. Whether you’re a beginner or an advanced crocheter, this project offers opportunities to learn new techniques and express your individuality.
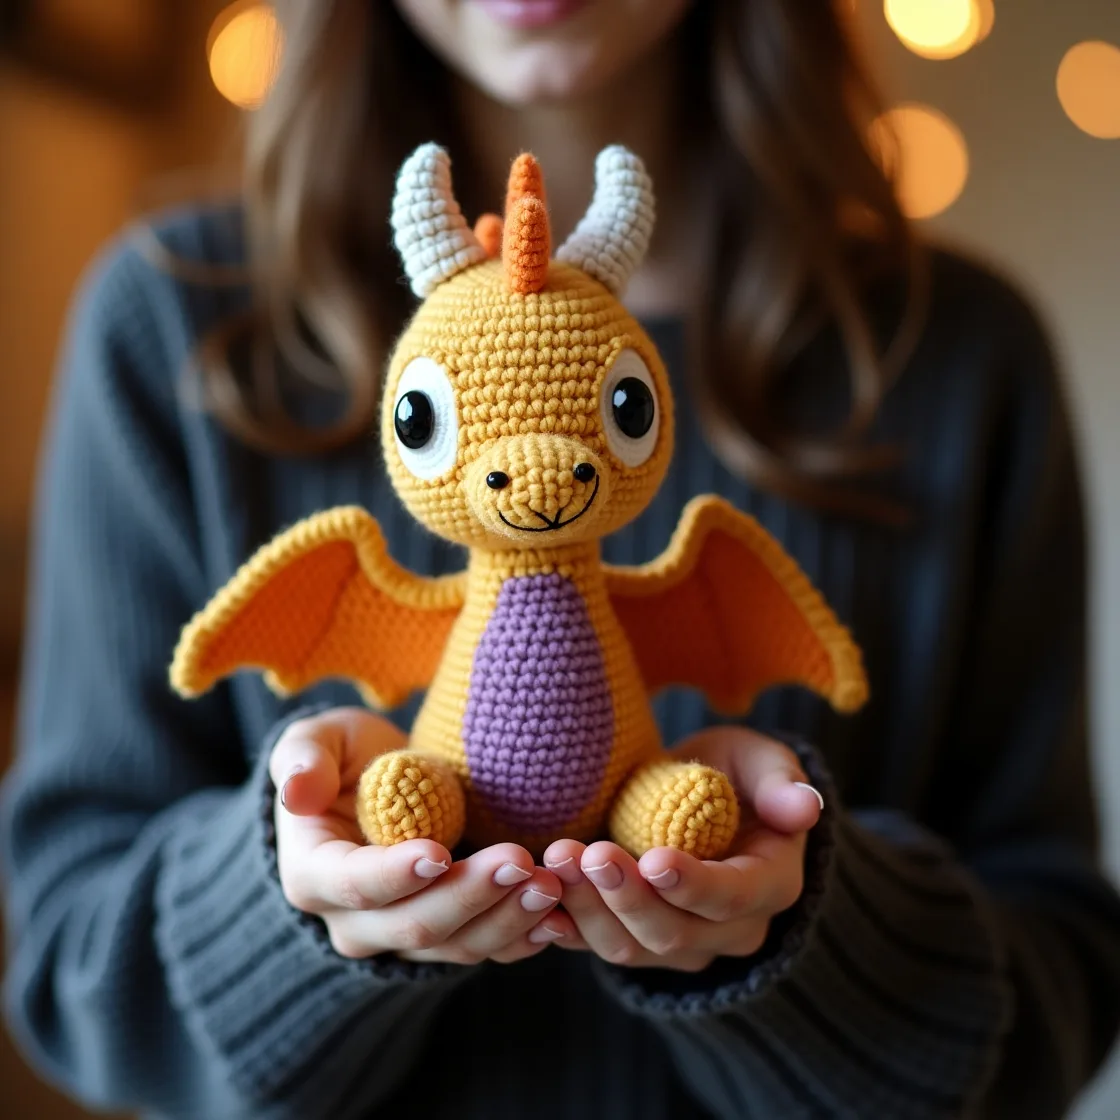
Crafting Your Own Crochet Dragon
1. Preparing for Your Project
Before diving into the creation of your crochet dragon, preparation is key. Here’s what you’ll need:
Materials
- Yarn: Choose yarn in the colors you want for your dragon. Acrylic yarn is a popular choice due to its durability and vibrant colors. For added texture, consider using a mix of yarn types.
- Hooks: Use a crochet hook size that matches your yarn. Smaller hooks (e.g., 2.5 mm to 4 mm) are ideal for detailed amigurumi projects like a dragon.
- Stuffing: Polyester fiberfill works well for stuffing your dragon, giving it a plush and sturdy form.
- Safety Eyes or Embroidery Thread: Safety eyes add a professional touch, while embroidery thread allows for customizable, hand-stitched eyes.
- Stitch Markers: These help keep track of your progress, especially when working in the round.
- Tapestry Needle: Use this for sewing parts together and weaving in ends.
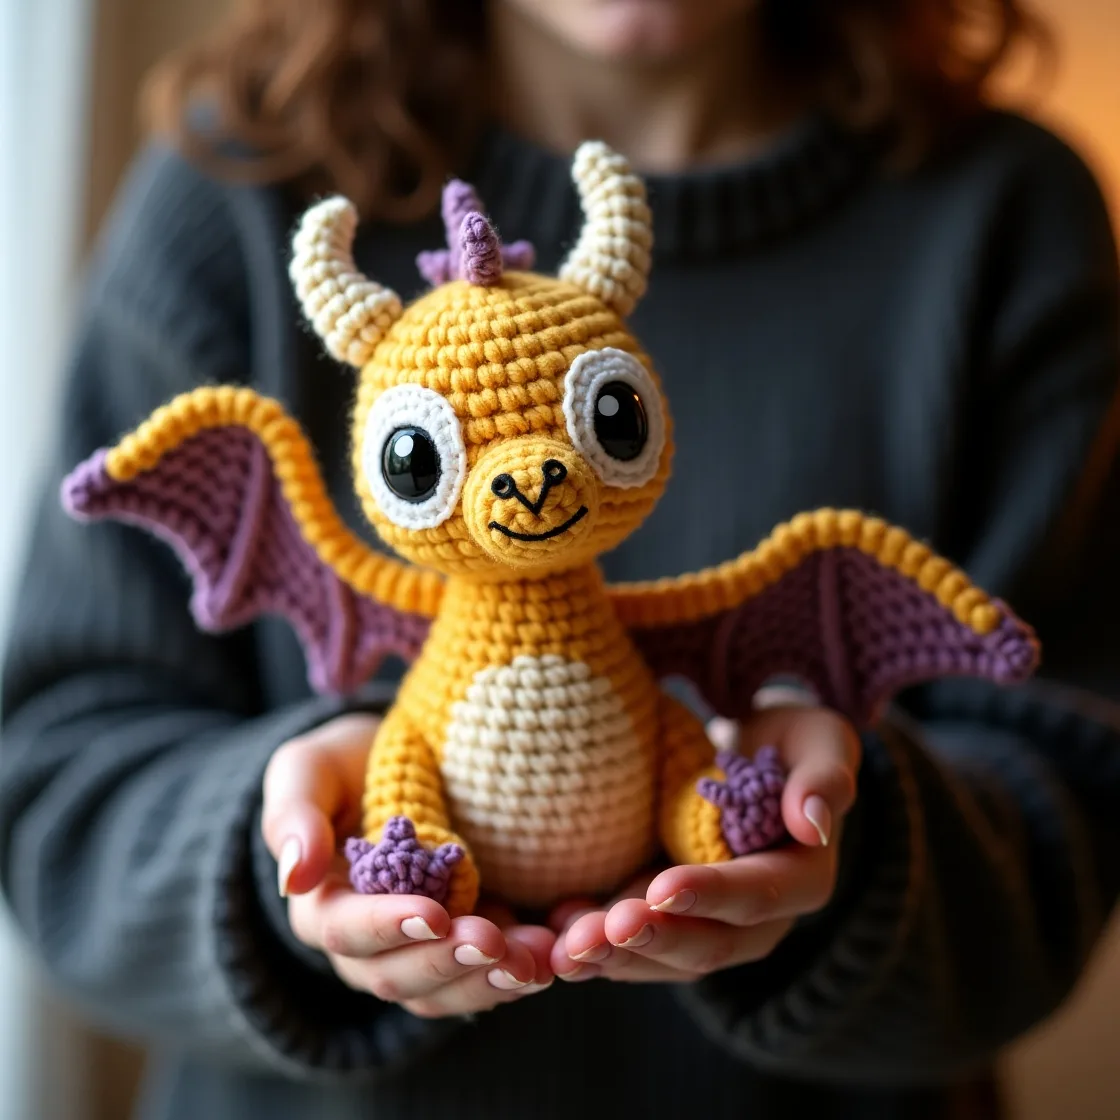
Choosing a Pattern
There are countless crochet dragon patterns available, ranging from realistic to whimsical designs. Look for a pattern that matches your skill level and desired style. Beginners may prefer simpler designs, while experienced crocheters might enjoy intricate patterns with detailed wings and scales.
Planning Your Design
Even if you’re following a pattern, you can personalize your dragon by choosing unique color schemes or modifying certain features. For instance, you might add horns, change the tail shape, or incorporate glittery yarn for a magical effect.
2. The Crafting Process
Starting with the Basics
Most crochet dragons begin with the same foundational techniques used in amigurumi. Here’s an overview:
- Magic Ring: This technique creates a tight, seamless starting point for crocheting in the round.
- Single Crochet (sc): The primary stitch used in amigurumi, providing a dense and sturdy fabric.
- Increases and Decreases: These are essential for shaping your dragon’s body and limbs.
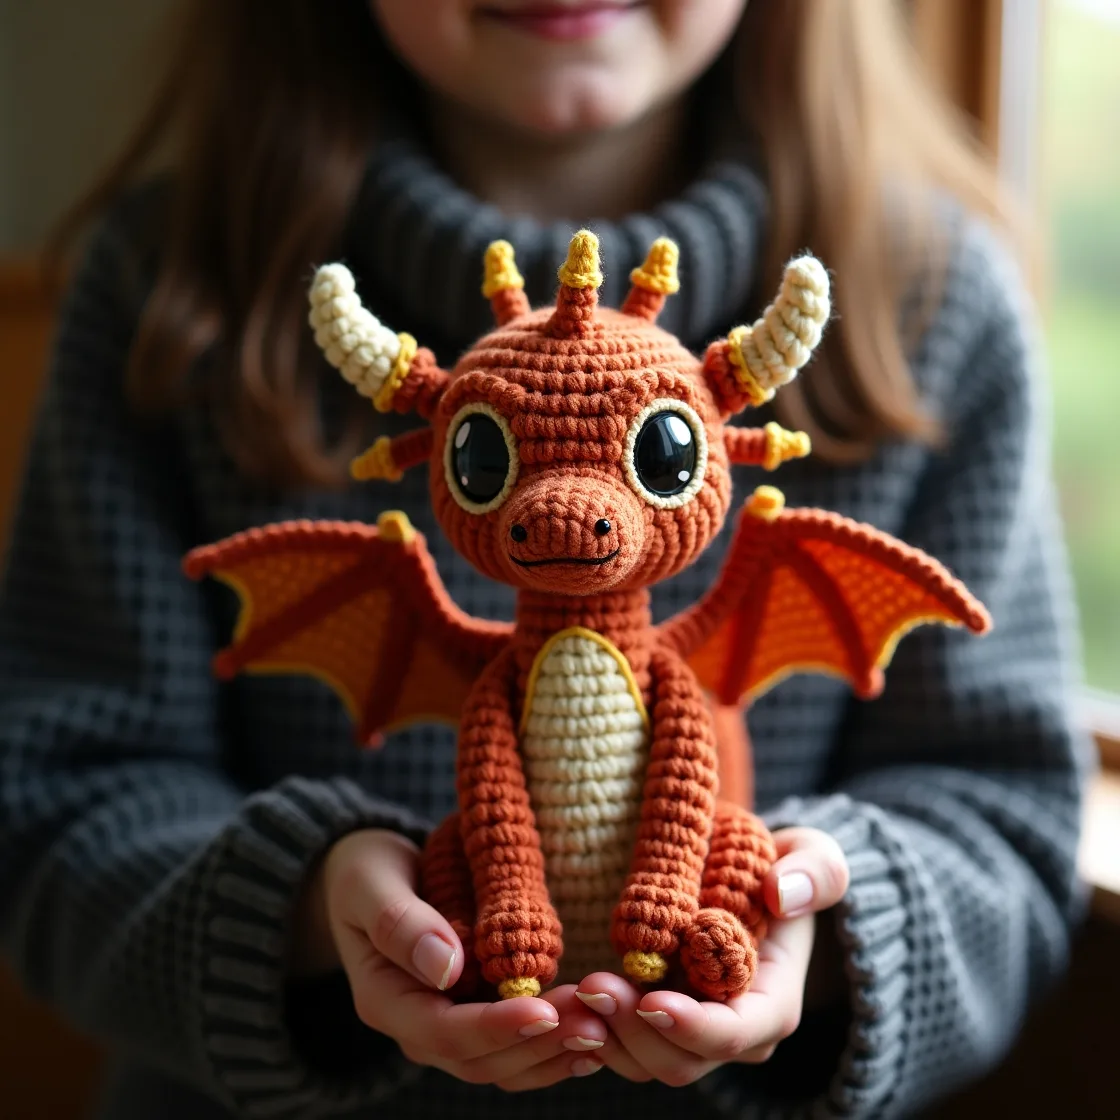
Creating the Body
The body is typically crocheted as a single piece or in segments. Depending on the pattern, you may work from the tail to the head or vice versa. Pay attention to shaping as you go, ensuring the body has the desired curves and proportions.
Designing the Head
The head is the focal point of your crochet dragon. Add features like:
- Eyes: Use safety eyes for a polished look, or embroider them for a handmade touch.
- Nostrils and Mouth: These can be embroidered or crocheted separately and sewn on.
- Horns or Spikes: Experiment with shapes and sizes to give your dragon character.
Adding Limbs and Tail
Crochet the legs, arms, and tail separately, then attach them to the body. For added stability, consider inserting wire into the limbs to make them poseable.
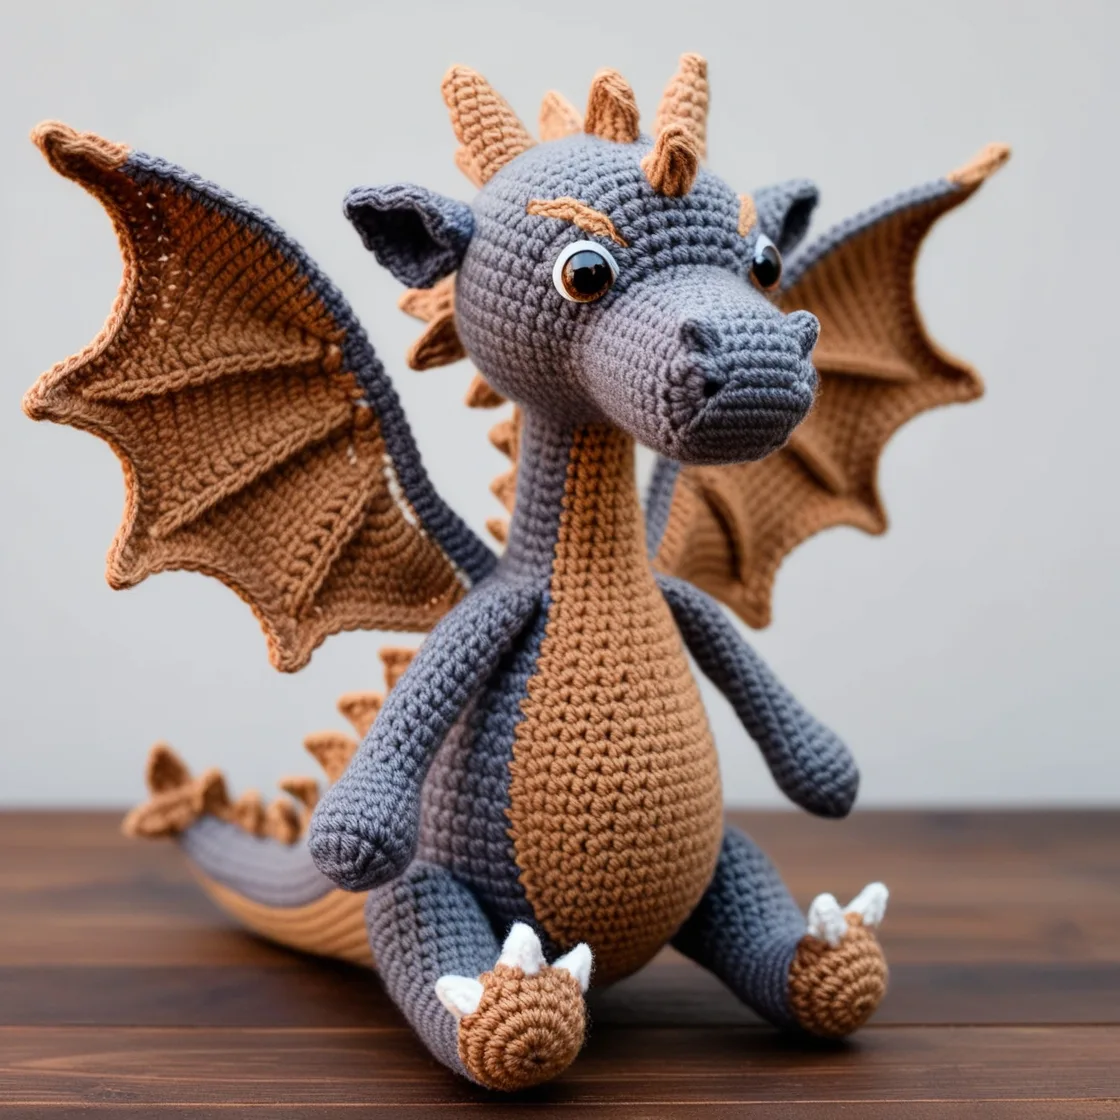
Crafting the Wings
Dragon wings are a standout feature that allows for significant creativity. You can crochet simple, solid wings or design intricate, lacy patterns that mimic real wings. Adding wire to the edges can give them structure and flexibility.
3. Bringing Your Dragon to Life
Assembling the Pieces
Carefully sew all the parts together using a tapestry needle. Align each piece correctly to ensure your dragon looks balanced and symmetrical.
Adding Details
Small details make a big difference. Consider:
- Embroidery: Add scales, patterns, or even scars for a unique look.
- Beads or Sequins: Use these for a touch of sparkle on the wings or body.
- Shading: Lightly brush fabric paint or pastel chalk onto your dragon for added depth and texture.
Naming Your Dragon
Once complete, give your dragon a name to celebrate your hard work. This personal touch transforms your creation into a cherished companion.
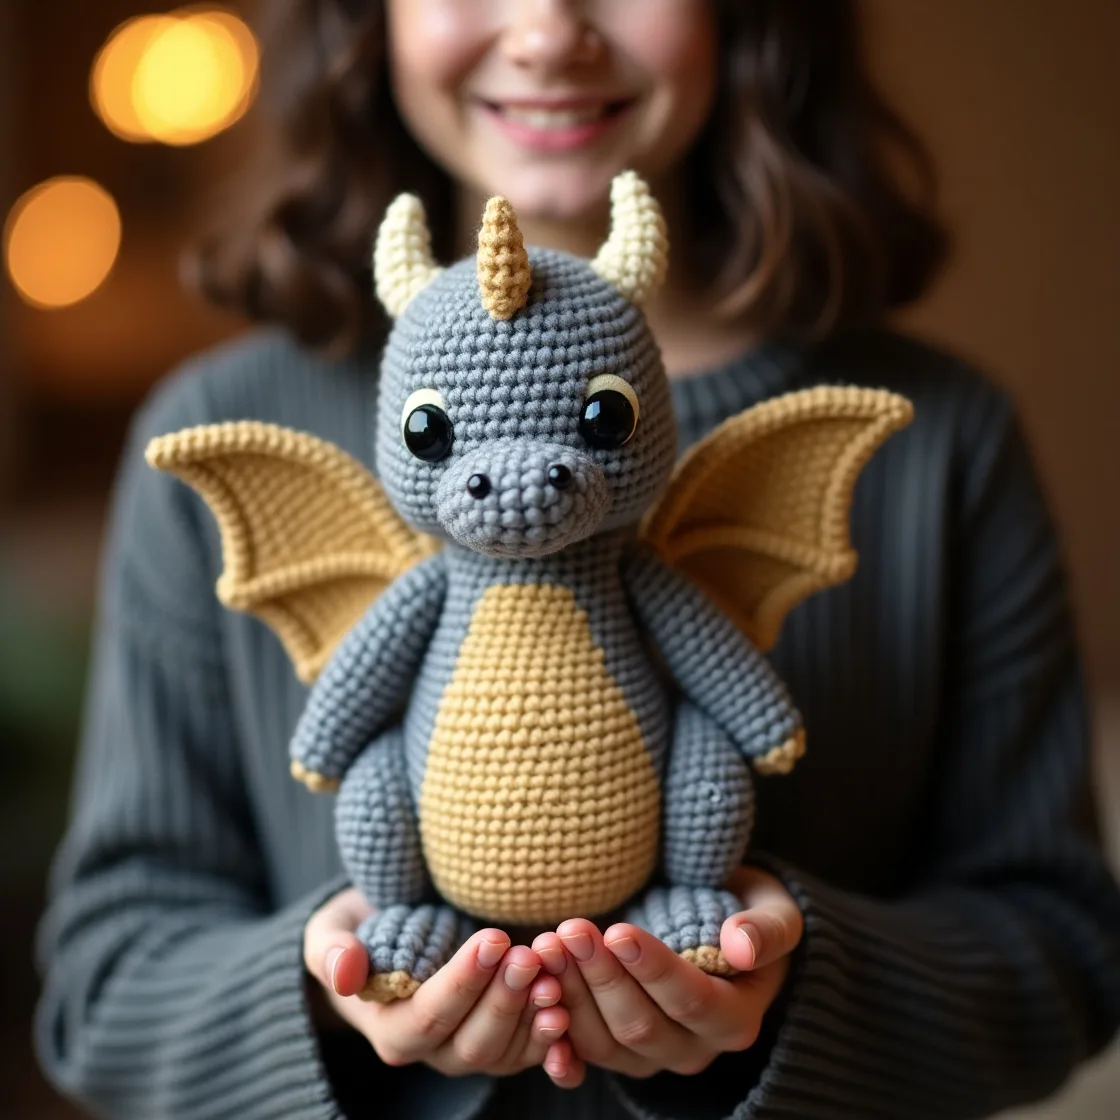
Conclusion: The Joy of Creating a Crochet Dragon
Crafting your own crochet dragon is more than just a project; it’s an opportunity to explore your creativity and showcase your skills. From choosing materials to adding finishing touches, every step of the process allows you to express your individuality and imagination.
The journey of creating a crochet dragon teaches patience, attention to detail, and problem-solving—qualities that extend beyond crochet and into everyday life. Whether you keep your dragon as a treasured keepsake, gift it to a loved one, or display it as an art piece, it’s a testament to your artistry and dedication.
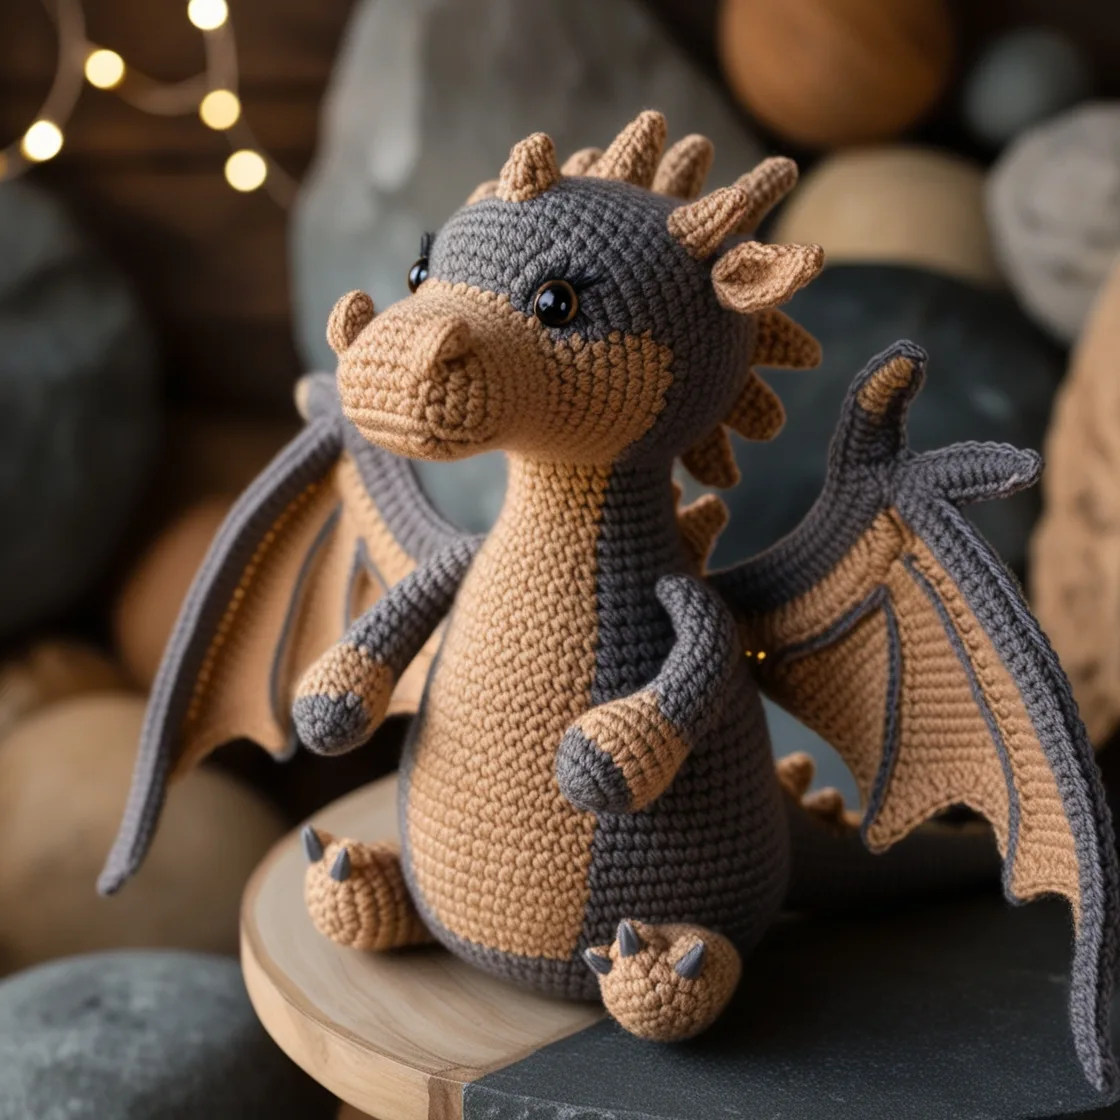
So, pick up your hooks, gather your yarn, and unleash your creativity. Your crochet dragon awaits, ready to take flight as a masterpiece born from your hands and heart.

