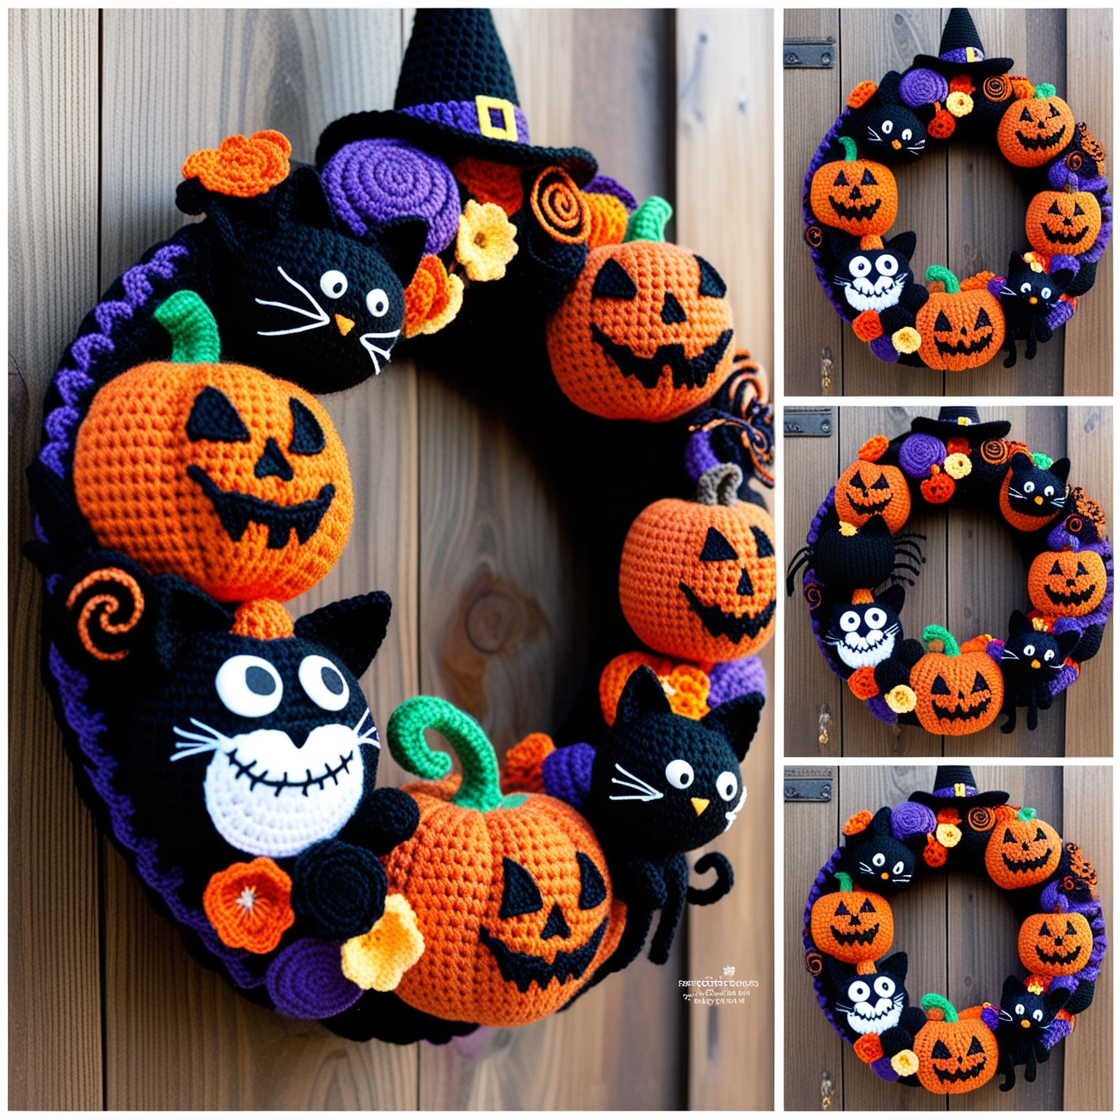
As the crisp autumn air settles in and the leaves begin to fall, Halloween looms just around the corner. For many, it’s a season of creativity, where spooky meets stylish in a blend of eerie charm and whimsical fun. Decorating your home to capture the Halloween spirit doesn’t have to be limited to store-bought décor. Imagine welcoming trick-or-treaters or guests with a handmade piece that combines spookiness with an elegant touch—a crochet Halloween wreath. This unique project allows you to express your creativity while embracing the traditional Halloween vibe in a stylish and personal way.
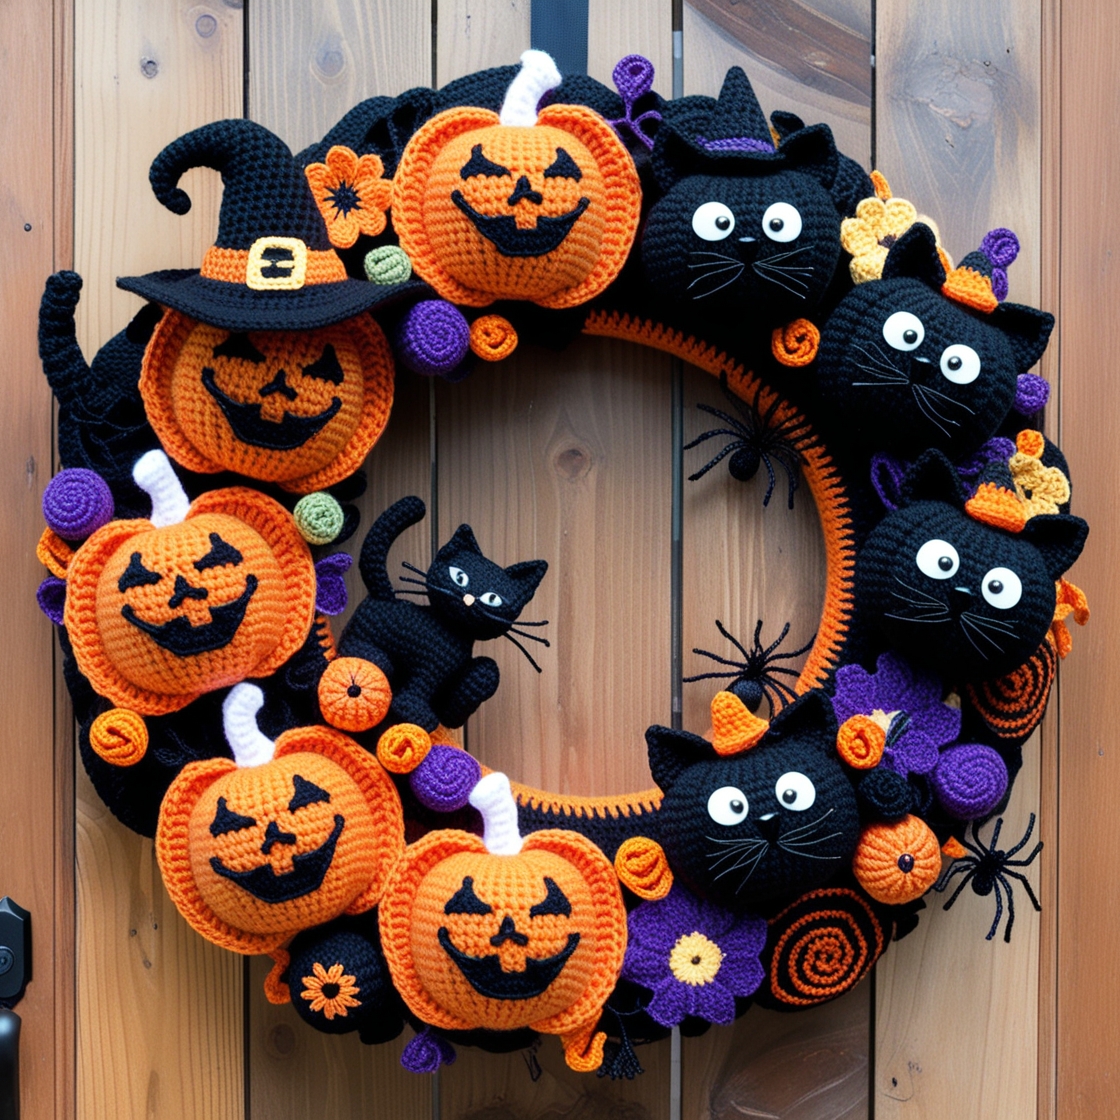
In this guide, we’ll take you through the journey of creating your own crochet Halloween wreath, from selecting materials and choosing patterns to decorating and finishing your wreath. Whether you’re a seasoned crocheter or a beginner, this project is perfect for adding a personal and crafty touch to your Halloween celebrations. Let’s dive into this spooky yet stylish project!
Introduction to Crochet Halloween Wreaths
The Appeal of Handmade Halloween Décor
There’s something undeniably special about handmade holiday decorations. They bring a personal touch to your home, stand out from the mass-produced items found in stores, and often become keepsakes that you bring out year after year. When it comes to Halloween, the possibilities for creativity are endless, and a crochet Halloween wreath is the perfect way to showcase your crafty talents.
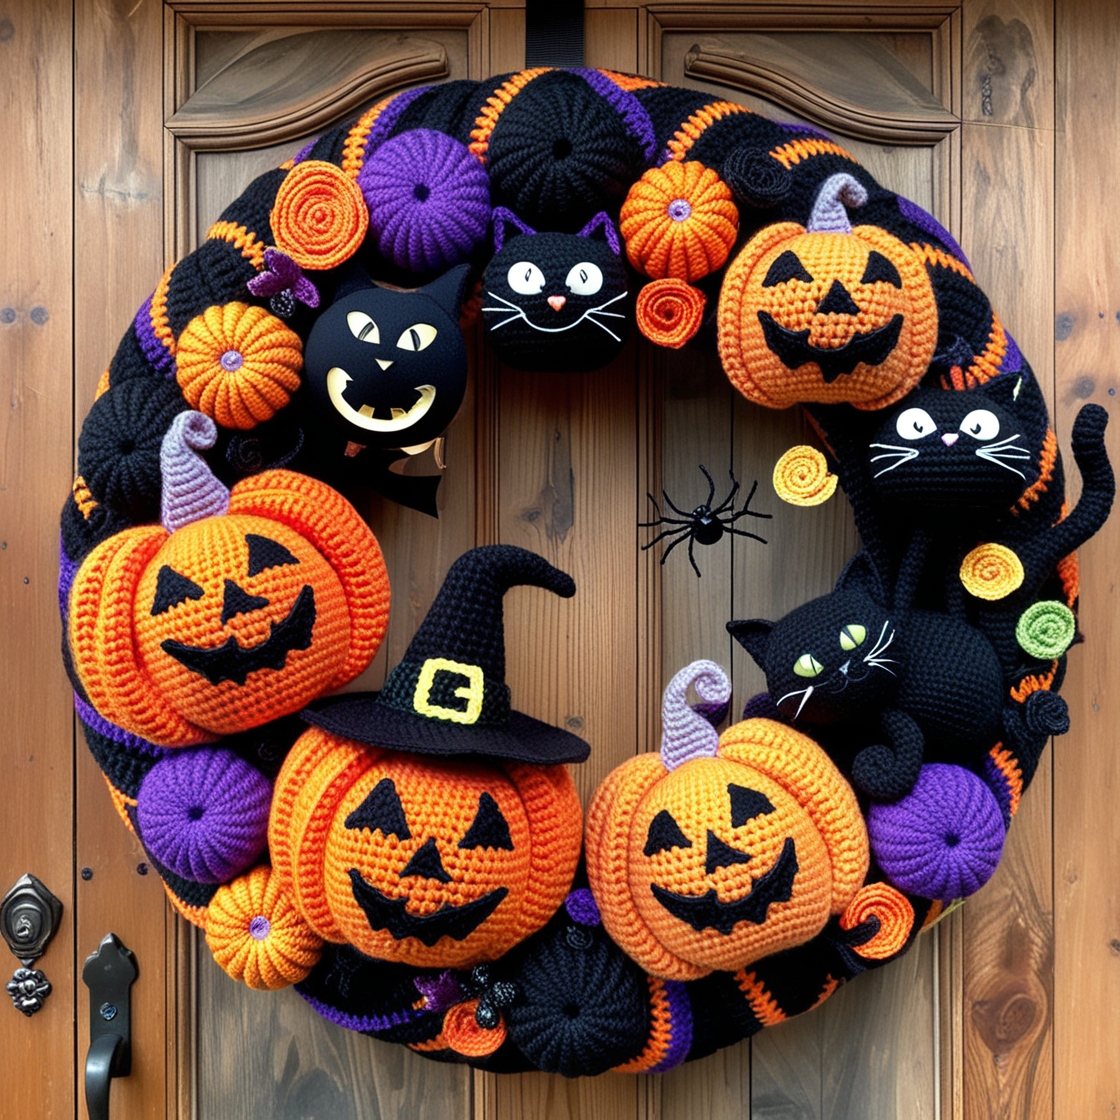
Unlike traditional Halloween wreaths, which might use plastic pumpkins or paper bats, crochet wreaths allow for a more artistic and textured approach. The combination of yarn and crochet techniques offers a cozy, handmade feel, while the colors and themes you choose can range from charmingly spooky to downright creepy. The flexibility of crochet also allows for intricate designs, making it a fun and rewarding craft project.
Why Choose Crochet for a Halloween Wreath?
Crochet has become an increasingly popular medium for holiday decorations because it offers so much versatility. With just a few basic crochet stitches, you can create three-dimensional figures like ghosts, pumpkins, spiders, and more, all with a warm, handmade charm. A crochet Halloween wreath takes that a step further by combining your love for yarn crafting with festive Halloween flair. It’s a fun way to experiment with patterns, textures, and colors while creating a decoration that can be as spooky or as chic as you like.
Crochet wreaths are also incredibly durable and reusable. You can store them easily and bring them out year after year, making them a sustainable and cost-effective choice for holiday décor.
The Materials and Patterns You’ll Need for Your Crochet Halloween Wreath
Essential Materials for Crafting Your Wreath
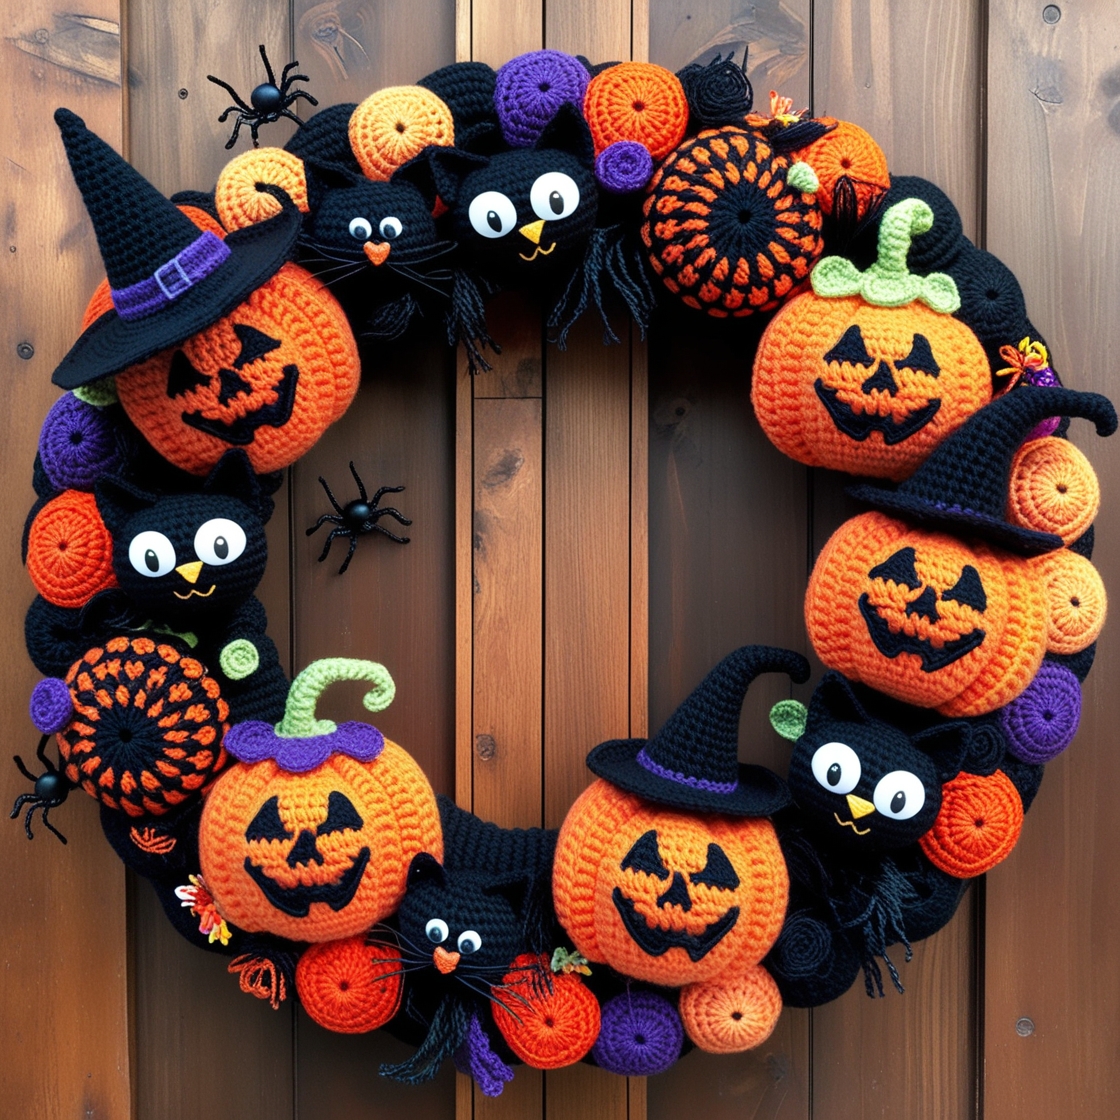
Before you start your project, gathering the right materials is essential. Here’s what you’ll need to create a stunning crochet Halloween wreath:
- Wreath Form: This is the base of your wreath. You can use a foam wreath form, which is available at most craft stores, or create your own wreath base using sturdy wire or cardboard. Choose a size that fits your door or space where you plan to hang the wreath.
- Yarn: The fun part of this project is picking out yarn colors! For Halloween, go for classic colors like black, orange, purple, and green. You may also want yarn in metallic shades (like silver or gold) for added texture and flair.
- Crochet Hook: The size of your hook will depend on the weight of the yarn you choose, but for most Halloween wreaths, a hook size between 4mm and 6mm works well.
- Tapestry Needle: For weaving in ends and sewing pieces together.
- Glue Gun or Sewing Needle: To attach crochet pieces to the wreath base.
- Additional Embellishments: Think about adding buttons, ribbon, googly eyes, felt shapes, or beads for extra decorative elements.
Choosing the Perfect Crochet Patterns
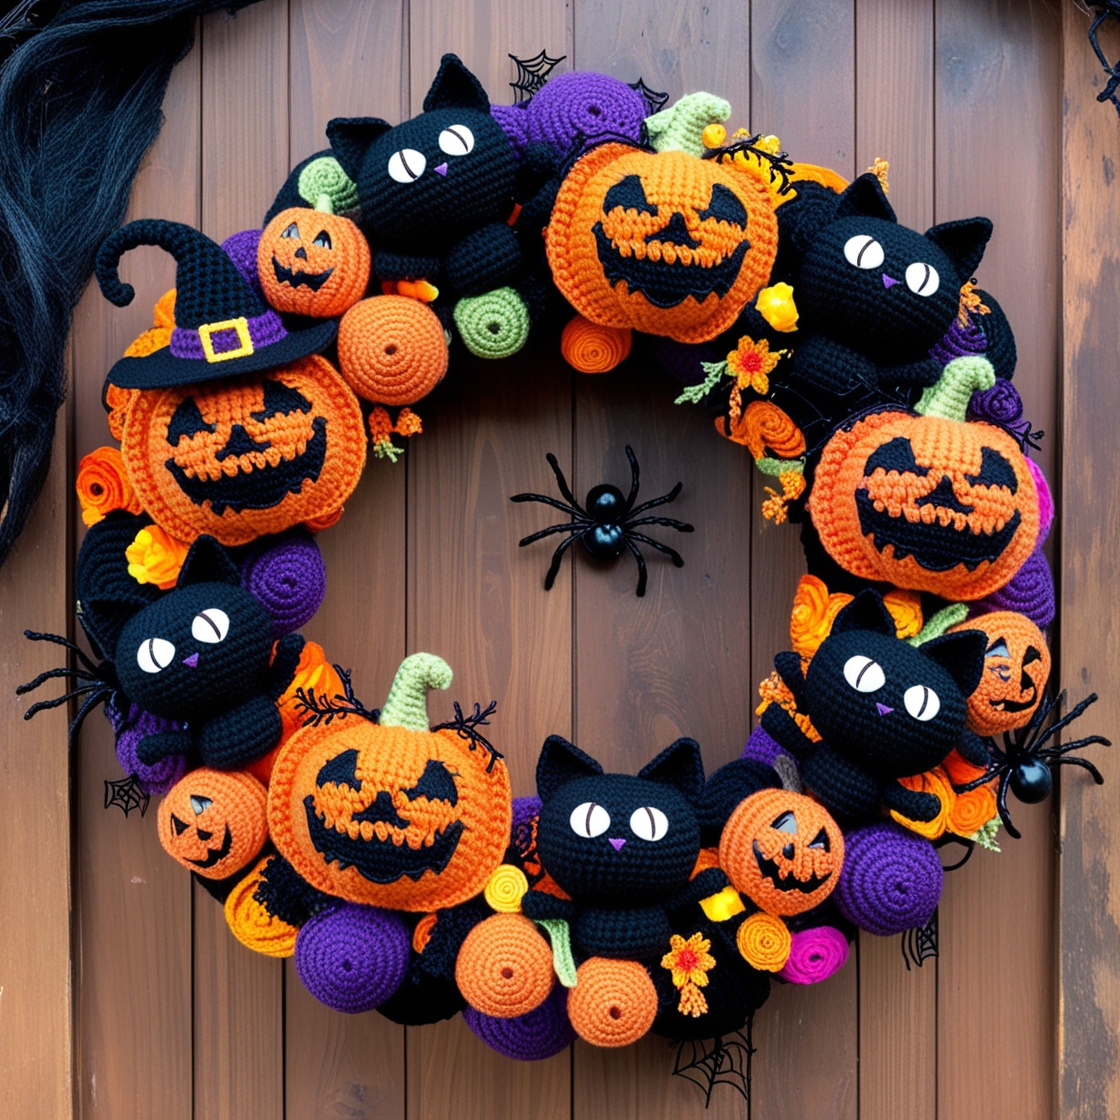
Once you’ve gathered your materials, it’s time to decide on the specific patterns and designs you want to use for your crochet Halloween wreath. Here are some ideas to get you started:
- Pumpkins: Tiny crocheted pumpkins in various shades of orange can be a cute and classic addition to your wreath. You can crochet them using basic amigurumi techniques to give them a plump and round shape.
- Ghosts: Simple ghost patterns made from white yarn are perfect for a spooky vibe. These can be created using basic stitches and stuffed lightly to give them a puffy, three-dimensional look.
- Bats: Crocheted bats in black or dark purple yarn are great for hanging around the wreath. Their wings can be shaped using more advanced crochet techniques like picot or scalloped edging.
- Spider Webs: Create intricate spider webs using fine yarn in white or silver. These can be crocheted using chain stitches and treble crochet for a delicate, web-like appearance.
- Skulls and Bones: Small skull motifs or bone shapes can be added to the wreath for an extra spooky touch. These are often created using single and double crochet stitches and can be sewn onto the wreath with black yarn for contrast.
Customizing Your Wreath with Unique Themes
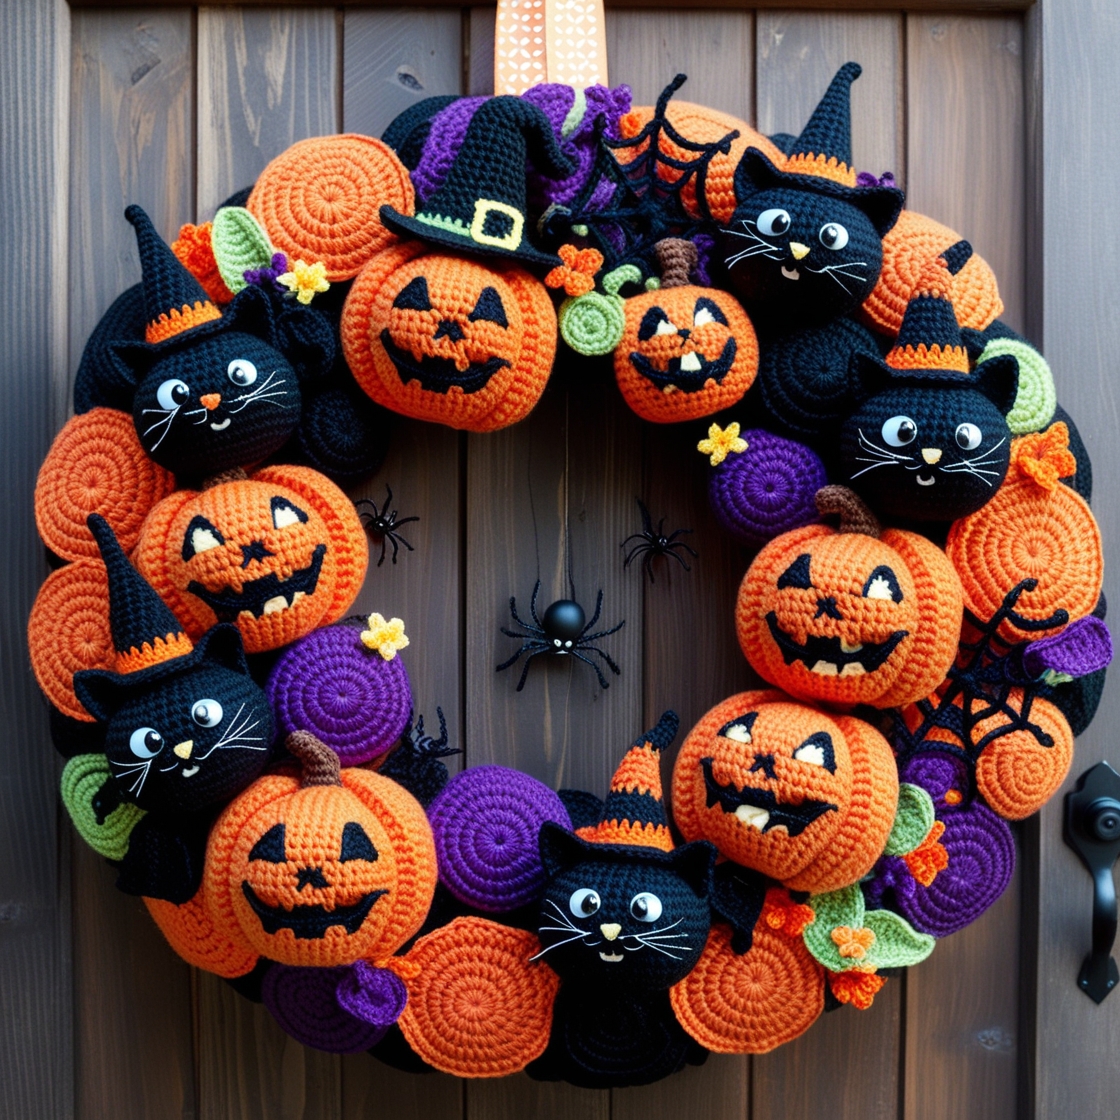
The beauty of a crochet Halloween wreath is that you can customize it to fit your style and preferences. Here are a few theme ideas that can inspire your project:
- Classic Halloween: Stick with traditional Halloween elements like pumpkins, ghosts, and bats in colors like orange, black, and purple.
- Gothic Elegance: For a more sophisticated look, use darker shades like deep purple, black, and silver, and include motifs like skulls, spiders, and lace-like webs.
- Cute and Playful: If you want something less spooky, opt for pastel colors like lavender, mint, and soft orange, and include playful characters like smiling pumpkins or happy ghosts.
- Day of the Dead: Incorporate vibrant colors like red, teal, and pink, and crochet sugar skulls and floral patterns to honor the Mexican celebration of Día de los Muertos.
Step-by-Step Guide to Crocheting Your Halloween Wreath
Step 1: Wrapping the Wreath Form
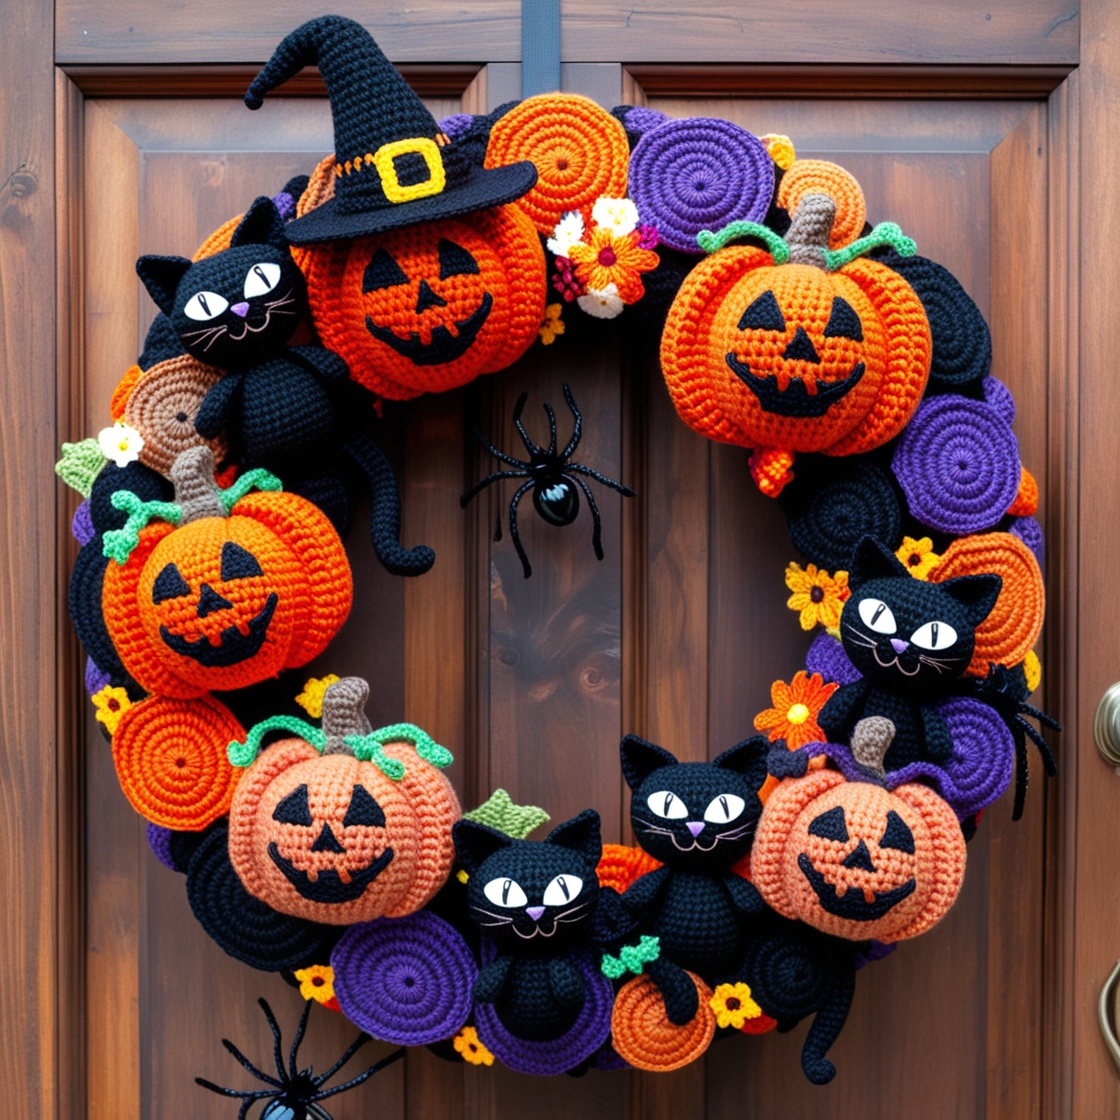
To start, take your wreath form and begin wrapping it with yarn. You can choose one solid color or alternate between two or three colors to create a striped effect. For a classic Halloween look, consider alternating black and orange yarn. Be sure to wrap tightly so no part of the form is visible. Secure the ends of the yarn with a hot glue gun or tie them off with a knot.
Step 2: Creating the Crochet Pieces
Once your wreath base is wrapped and ready, it’s time to crochet the decorative elements. Here’s a breakdown of how to make a few common Halloween motifs:
Crochet Pumpkin Pattern
- Magic Ring: Start with a magic ring, and crochet six single crochets into the ring.
- Increase Rounds: In each round, increase the number of stitches by doing two single crochets into each stitch around.
- Shape the Pumpkin: After a few rounds of increasing, continue crocheting without adding stitches to create the height of the pumpkin. Once it reaches the desired size, decrease the stitches by crocheting two stitches together.
- Stem and Leaves: Create a small stem by crocheting a short chain and sewing it onto the top of the pumpkin. You can also add a crocheted leaf or vine for extra detail.
Crochet Ghost Pattern
- Head: Begin with a magic ring and crochet six single crochets. Increase with two stitches in each for the next few rounds.
- Body: Continue crocheting in the round, but switch to half-double or double crochets to create a flowing ghost body.
- Details: Add tiny black yarn eyes or use googly eyes for a playful look.
Crochet Spider Web
- Foundation Chain: Create a long chain for the foundation of the web.
- Webbing: Use treble crochet stitches in each loop of the chain, alternating lengths to give the web an irregular, natural look.
- Assembly: Once you’ve crocheted enough pieces, start attaching them to the wreath form using your glue gun or by sewing them in place with yarn and a tapestry needle.
Step 3: Assembling the Wreath
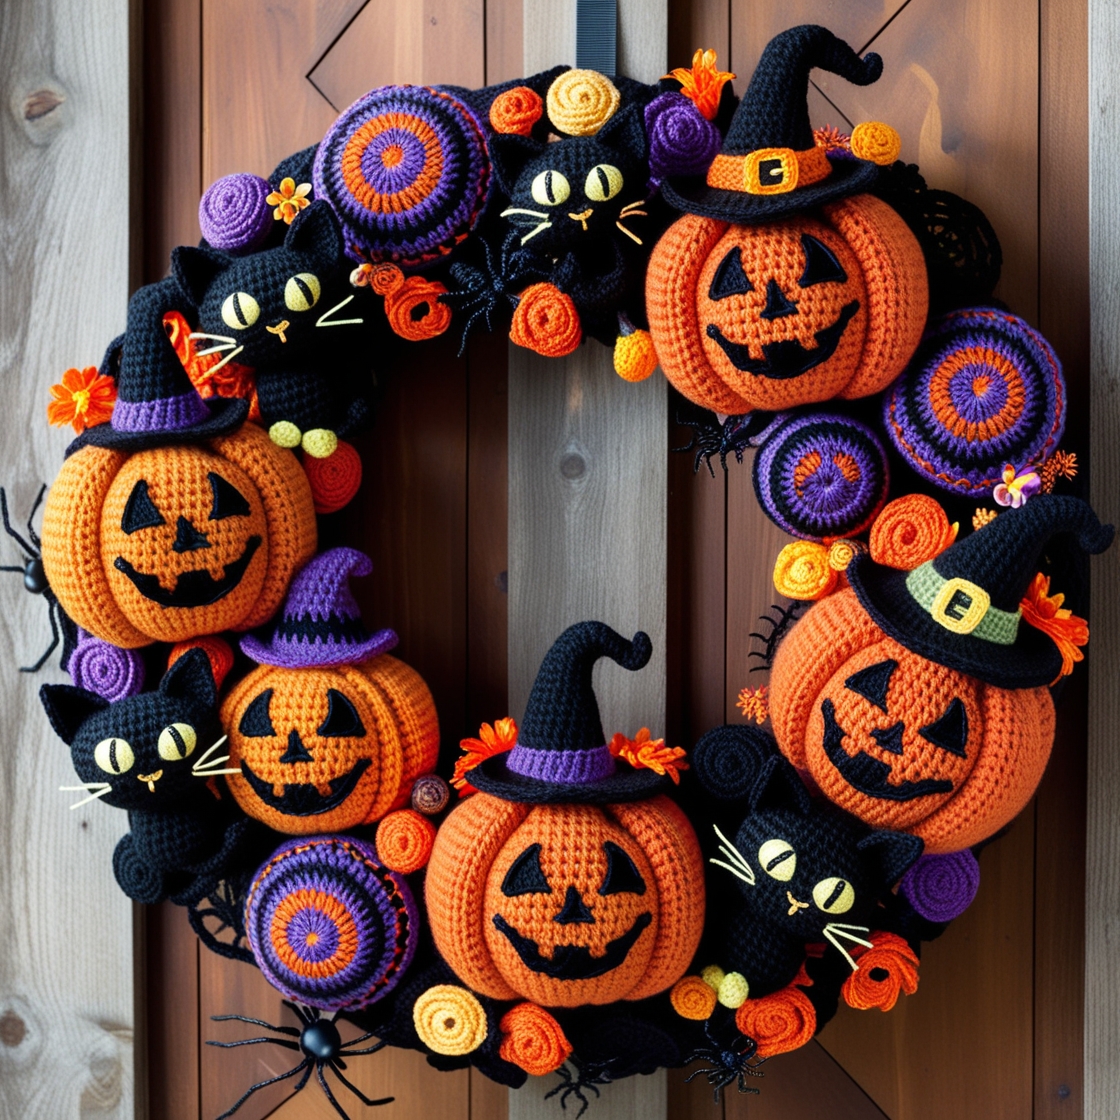
Once you’ve crocheted all your Halloween motifs, it’s time to arrange them on your wreath. Begin by placing the larger pieces first, like pumpkins and ghosts, spacing them evenly around the wreath. Then, fill in the gaps with smaller elements like bats, spiders, and webbing. Don’t be afraid to overlap pieces for a layered, dimensional look. Use a glue gun to securely attach each crochet piece to the wreath form, or sew them in place for extra durability.
Step 4: Adding Finishing Touches
To make your crochet Halloween wreath even more stylish, consider adding a few finishing touches. Here are some ideas:
- Ribbon Bow: Add a large black or orange ribbon bow at the bottom or top of the wreath for a polished look.
- LED Lights: Incorporate a string of battery-operated fairy lights around the wreath for a spooky, glowing effect.
- Hanging Accessories: Attach small hanging elements like tiny plastic spiders, or even crocheted ones, from the bottom of the wreath to give it some movement.
A Spooky Yet Stylish Halloween Decoration
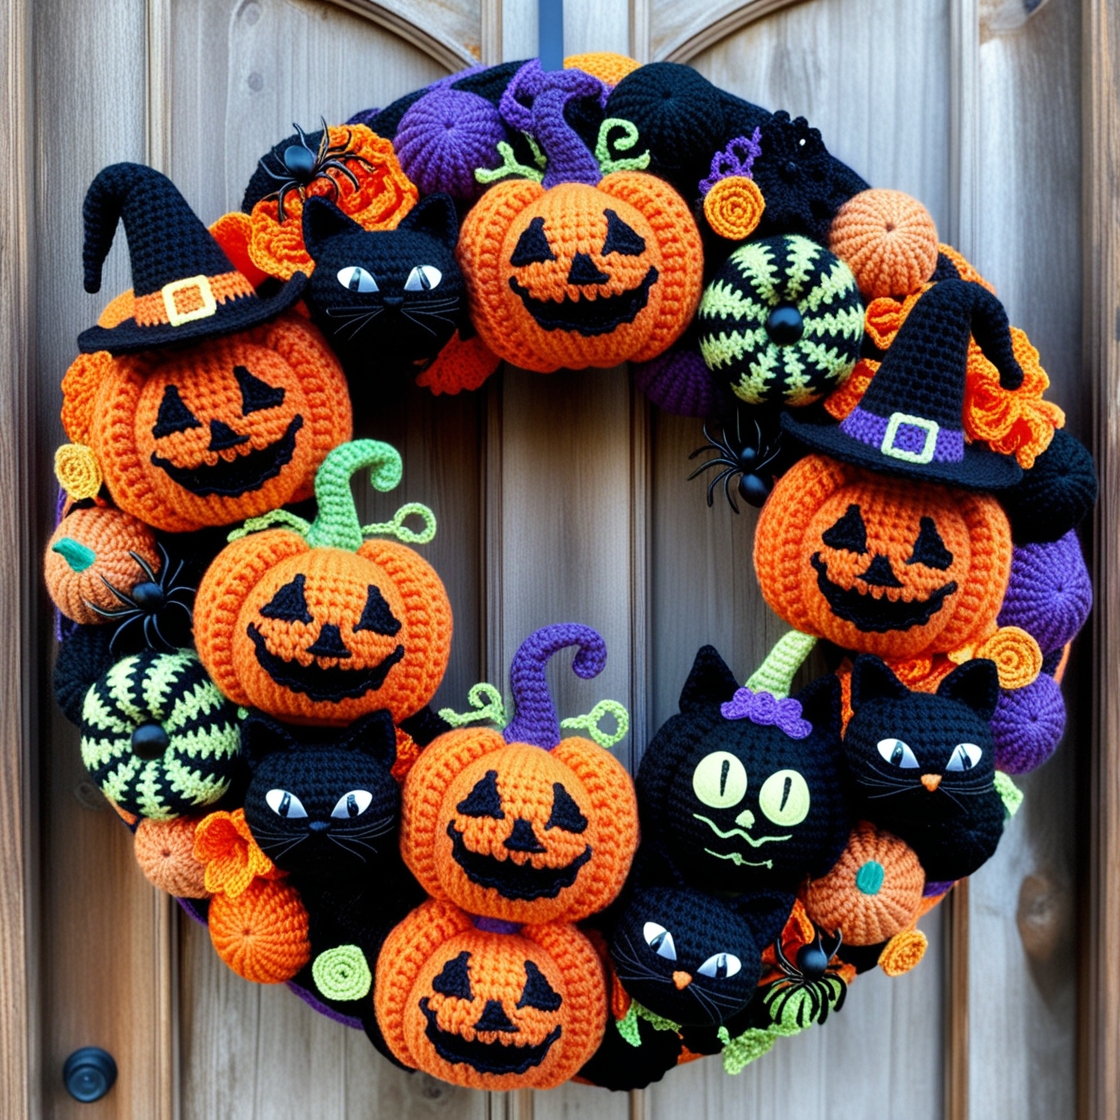
Creating your own crochet Halloween wreath is not just about decorating your home—it’s about embracing the spirit of Halloween in a personal and creative way. By combining traditional Halloween motifs with your unique crochet skills, you can craft a wreath that perfectly blends spooky and stylish. Whether you go for a cute and whimsical look or a more eerie and gothic vibe, your handmade wreath is sure to be a conversation starter and a
cherished piece of holiday décor for years to come.
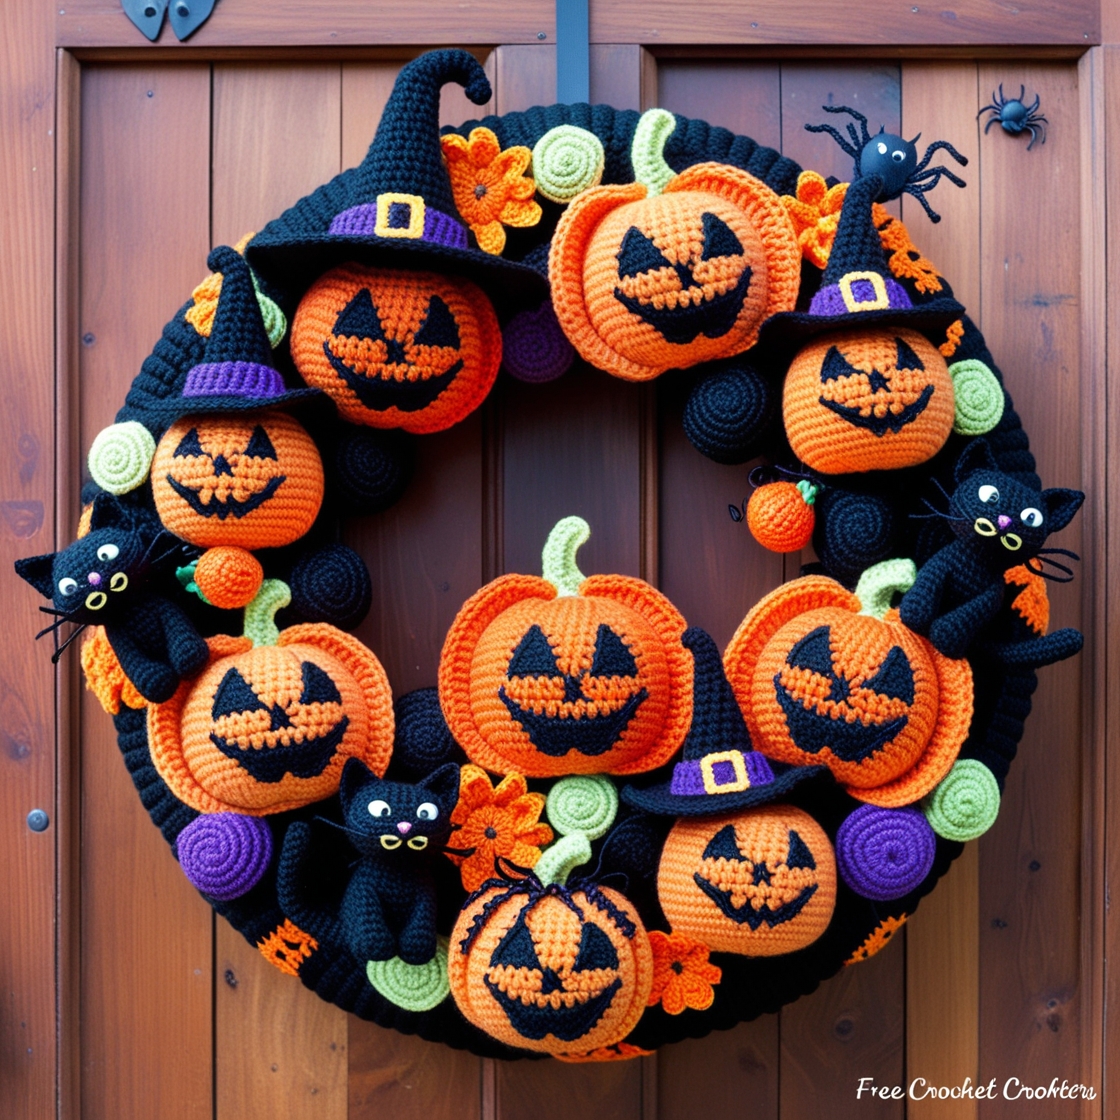
As you hang your crochet Halloween wreath on your front door or display it indoors, you’ll feel the satisfaction of having crafted something with your own hands, infused with your personality and style. So, grab your crochet hook, choose your favorite Halloween colors, and start stitching your way to a spooktacular decoration that will make this Halloween extra special!

